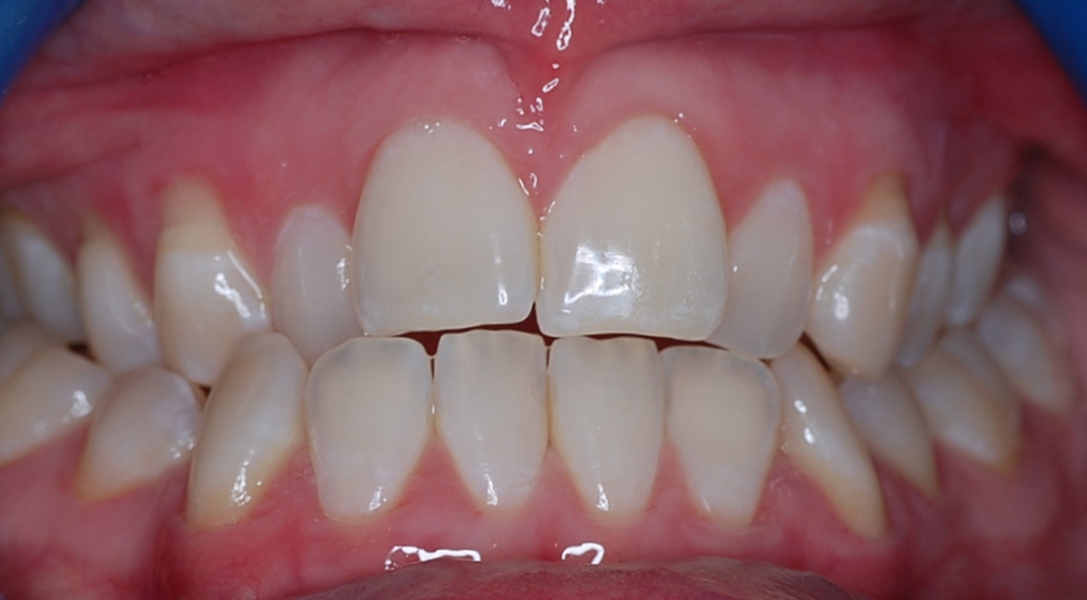
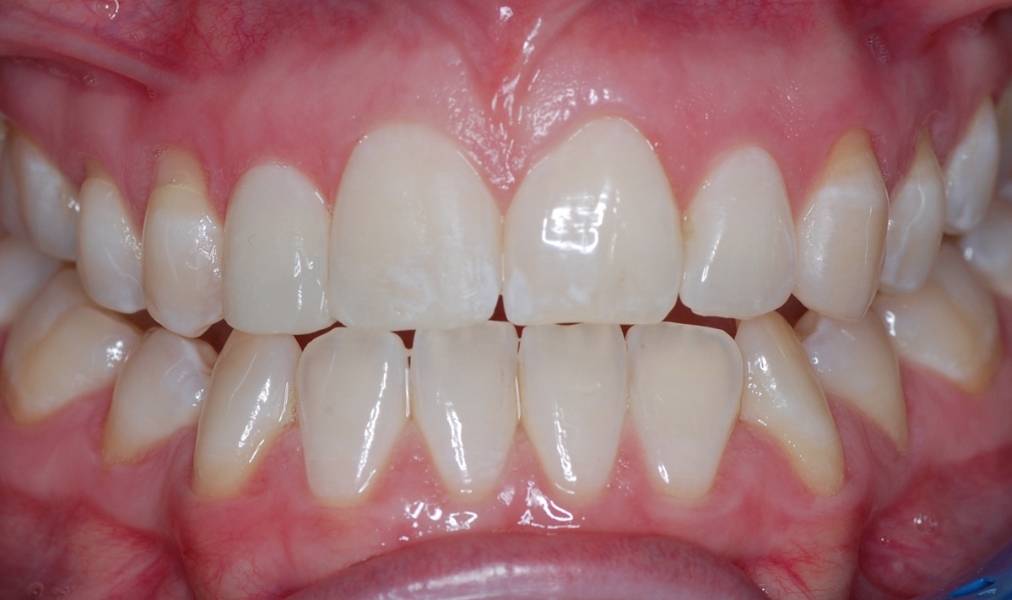
A female patient came to me requesting to have her anterior teeth straightened. She had an anterior and posterior cross bite, particularly severe on the right.
We discussed her possible options, including restorative treatment, referring her to the DGH (District General Hospital) for a fixed orthodontic treatment or a sectional screw appliance to expand the arch and later Inman aligner. The patient opted for the third and least invasive treatment option with a sectional screw appliance to correct the cross bite, followed by an Inman Aligner.
After taking impressions and confirming this with an orthodontic specialist, Nimrod Dystein, I explained how the sectional screw appliance would work and encouraged the patient to consider her choice carefully, as this treatment would take some time. She decided to go ahead and we began treatment.
I fitted the sectional screw appliance during the first appointment, showing the patient how to turn the screw and recommended that she do so every four to five days. By doing this we were trying to expand the posterior segment for good alignment, and the patient was informed that an essix retainer would be needed after the completion of treatment to prevent the teeth from collapsing and reversing the affects of the screw.
In the first review appointment for the sectional screw, I performed interproximal reduction (IPR) to correct both the anterior and posterior cross bite. I then placed the anchor on the laterals and reduced the plate so that it did not touch the centrals. I ensured the patient understood the reasons for doing this before placing the fluoride varnish on the teeth.
When the patient returned for a review of the sectional fan screw, the right molars were edge-to-edge and the left molars had passed this stage, and no further IPR was needed. I decided to continue treatment for another five weeks to jump the bite.
Once the UR2 was beyond the edge-to-edge stage as well, I took the impressions for the upper Inman Aligner. I then fitted the patient with the Inman Aligner just over two weeks later, checking the anchor positions and IPR, and showed the patient how to remove and replace the appliance on her own.
I reviewed the patient’s progress at two week intervals, showing her the difference in her teeth from before treatment through her photos. During the first review I removed the anchor on the UR2 as the tooth had reached ideal position, and placed an anchor on the UL2.
Another two weeks later the patient returned for a check-up. Treatment was still going well, and I placed an anchor on the UR1 as it needed slight de-rotation. I also advised the patient that we could bond the UR2 to make it look symmetrical with the left side, which she agreed with.
Within two more weeks the Inman Aligner treatment was finished, and I removed all anchors. I made the mock composite build-ups with Gradia A1, which I showed to the patient and adjusted according to her suggestion, ensuring she was happy with the shape, size and shade. I then checked the occlusion and completed the treatment with an acid etch, bond and composite on the UR1 and UR2 and finished with a polish.
To prevent any relapse of the posterior cross bite, I sent impressions to the lab for an essix retainer. Within two weeks this had been delivered and again I made sure the patient knew how to place and remove it safely, providing care instructions for the appliance. By the end of treatment, the patient was extremely happy with the results.


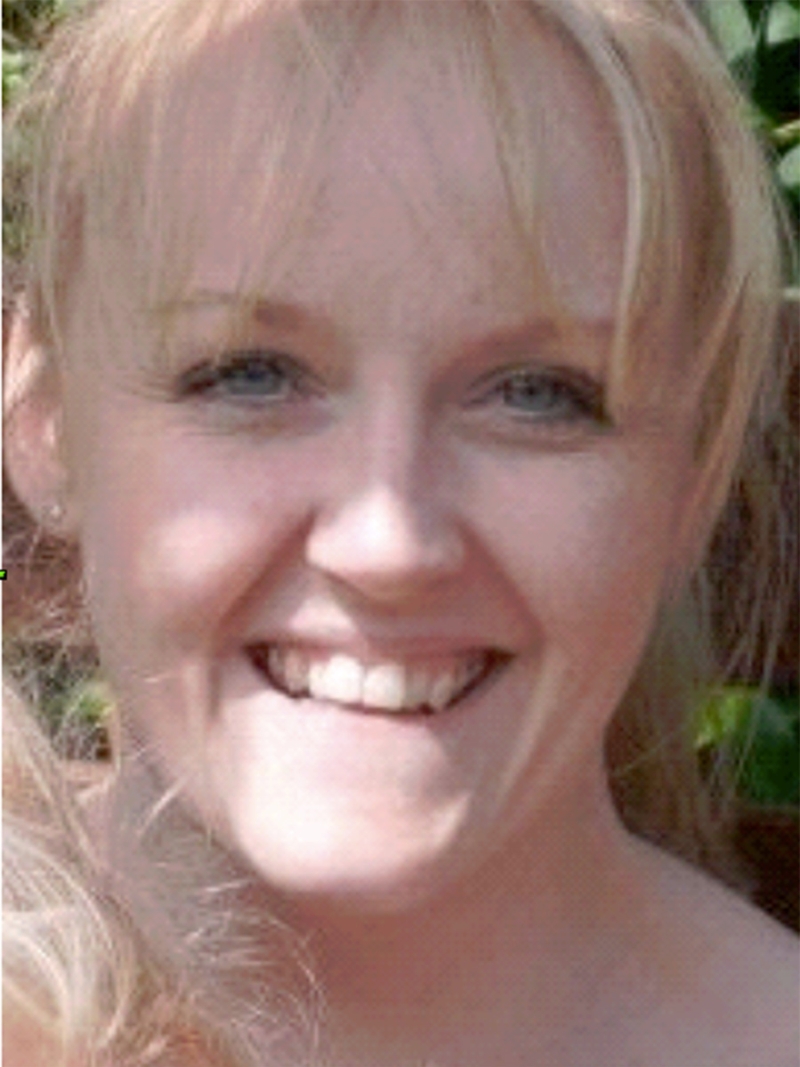
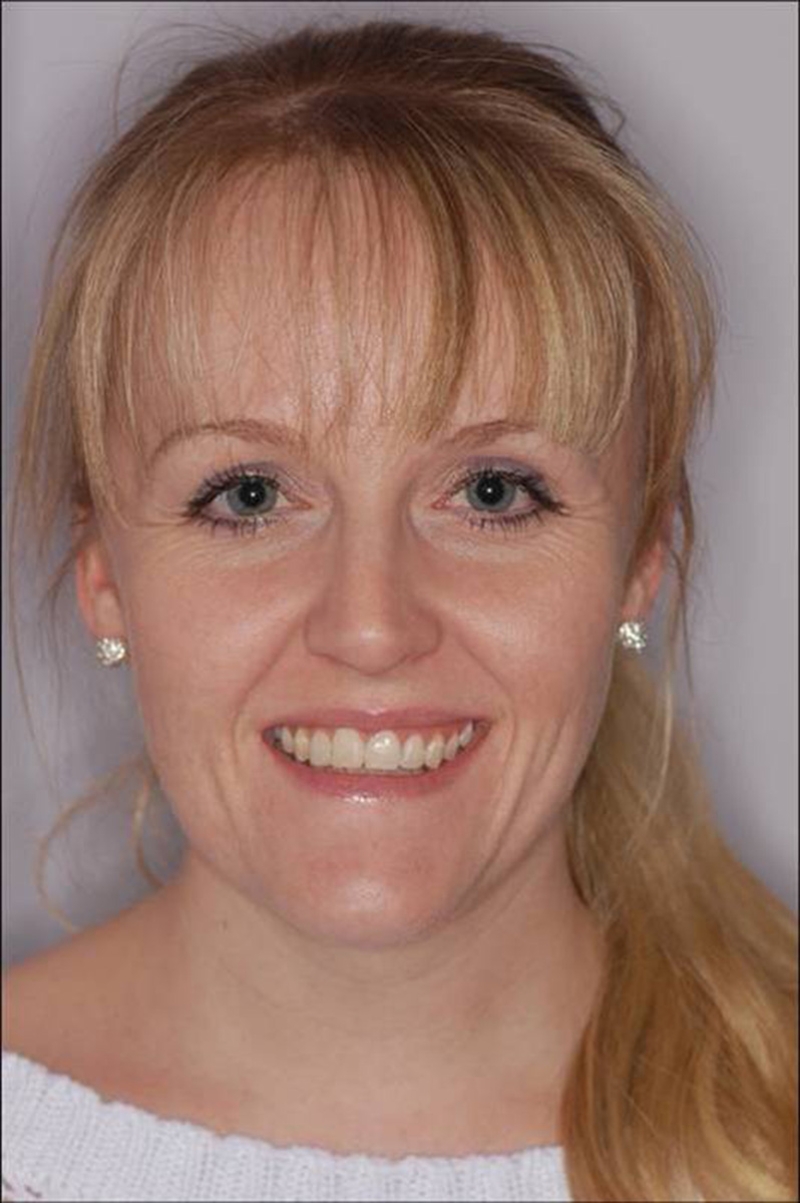
Before. After.
